The multi-pass ordinary spinning process is a critical manufacturing technique used in the production of high-quality metal components. This process involves multiple passes of a workpiece through a spinning machine, where it is shaped and refined through a series of controlled deformations. The goal of this article is to provide a comprehensive overview of the multi-pass ordinary spinning process, including detailed test procedures, numerical simulation methods, and comparative analyses. This article aims to be a valuable resource for engineers, researchers, and industry professionals seeking to understand and optimize this manufacturing technique.
Introduction to Multi-Pass Ordinary Spinning
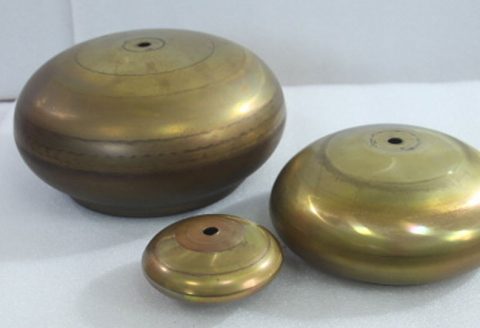
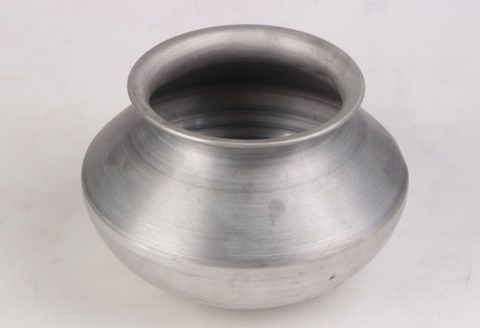
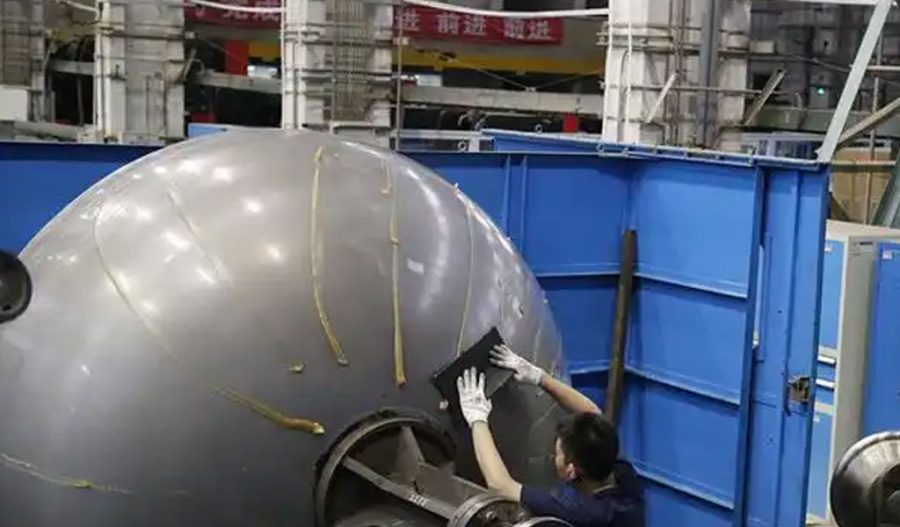
The multi-pass ordinary spinning process is a form of metalworking that involves the controlled deformation of a workpiece to achieve a desired shape and thickness. This process is particularly useful for producing axisymmetric parts, such as cylinders, cones, and hemispheres. The key advantage of multi-pass spinning is its ability to produce complex shapes with high precision and minimal material waste.
The spinning process can be broadly categorized into two types: conventional spinning and shear spinning. Conventional spinning involves the deformation of the workpiece through a series of incremental steps, where the material is gradually shaped by a spinning tool. Shear spinning, on the other hand, involves the localized shearing of the material, which allows for more significant deformations in a single pass. The multi-pass ordinary spinning process typically falls under the category of conventional spinning, where multiple passes are used to achieve the final shape.
Test Procedures for Multi-Pass Ordinary Spinning
The test procedures for the multi-pass ordinary spinning process involve a series of controlled experiments designed to evaluate the performance and quality of the spun parts. The following sections detail the key steps involved in these test procedures:
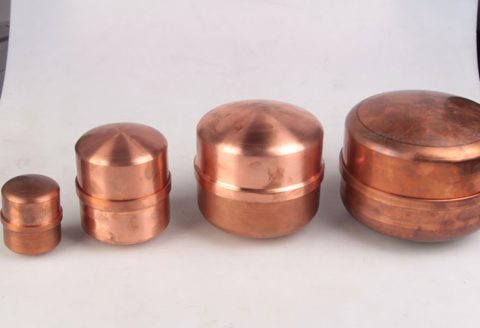
- Material Selection: The choice of material is crucial for the success of the spinning process. Common materials used in spinning include aluminum, stainless steel, and copper alloys. The material selection is based on factors such as formability, strength, and corrosion resistance.
- Workpiece Preparation: The workpiece is prepared by cutting it to the required dimensions and ensuring that it is free from defects. The surface of the workpiece is often cleaned and polished to remove any oxide layers or contaminants that could affect the spinning process.
- Tooling Setup: The spinning machine is equipped with a mandrel and a spinning tool. The mandrel supports the workpiece and provides the necessary shape for the final part. The spinning tool is used to deform the workpiece and is typically made from high-strength tool steel.
- Spinning Parameters: The spinning parameters, including the rotational speed of the mandrel, the feed rate of the spinning tool, and the number of passes, are carefully controlled to ensure optimal deformation and minimal defects. These parameters are often determined through a combination of experimental trials and numerical simulations.
- Multi-Pass Spinning: The workpiece is subjected to multiple passes of the spinning tool, with each pass gradually deforming the material to achieve the desired shape. The number of passes and the deformation per pass are critical factors that affect the final quality of the spun part.
- Quality Inspection: After the spinning process, the final part is inspected for dimensional accuracy, surface finish, and material integrity. Non-destructive testing methods, such as ultrasonic inspection and X-ray radiography, are often used to detect any internal defects.
Numerical Simulation of Multi-Pass Ordinary Spinning
Numerical simulation is a powerful tool for analyzing and optimizing the multi-pass ordinary spinning process. Simulation allows engineers to predict the behavior of the workpiece under various spinning conditions and to identify potential issues before physical testing. The following sections detail the key aspects of numerical simulation for the spinning process:
- Finite Element Analysis (FEA): FEA is a widely used numerical method for simulating the deformation of materials. In the context of spinning, FEA involves discretizing the workpiece into a mesh of finite elements and solving the governing equations to predict the stress, strain, and temperature distributions during the spinning process.
- Material Models: Accurate material models are essential for reliable simulation results. Common material models used in spinning simulations include elastic-plastic models, which account for the nonlinear behavior of metals under deformation, and viscoplastic models, which consider the time-dependent behavior of materials.
- Boundary Conditions: The boundary conditions define the interactions between the workpiece, the mandrel, and the spinning tool. These conditions include the contact forces, friction, and heat transfer between the surfaces. Accurate modeling of boundary conditions is crucial for predicting the deformation and thermal behavior of the workpiece.
- Simulation Parameters: The simulation parameters, such as the rotational speed, feed rate, and number of passes, are carefully controlled to match the experimental conditions. Sensitivity analyses are often performed to understand the impact of these parameters on the final part quality.
- Post-Processing: The simulation results are post-processed to extract relevant information, such as stress and strain distributions, temperature profiles, and deformation patterns. This information is used to optimize the spinning parameters and to identify potential defects in the spun part.
Comparative Analysis of Test and Simulation Results
To validate the numerical simulations and to understand the accuracy of the predictions, a comparative analysis of the test and simulation results is essential. The following sections present a detailed comparison of the experimental and numerical data for the multi-pass ordinary spinning process:
- Dimensional Accuracy: The dimensional accuracy of the spun parts is a critical measure of the process quality. Table 1 compares the measured dimensions of the spun parts from the experimental tests with the predicted dimensions from the numerical simulations.
| Parameter | Experimental Measurement | Simulation Prediction | Difference |
|---|---|---|---|
| Outer Diameter (mm) | 100.2 | 100.5 | 0.3 |
| Inner Diameter (mm) | 98.5 | 98.8 | 0.3 |
| Wall Thickness (mm) | 0.85 | 0.87 | 0.02 |
| Length (mm) | 200.3 | 200.6 | 0.3 |
- Surface Finish: The surface finish of the spun parts is another important quality metric. Table 2 compares the surface roughness values obtained from the experimental tests with the predicted values from the numerical simulations.
| Parameter | Experimental Measurement | Simulation Prediction | Difference |
|---|---|---|---|
| Surface Roughness (Ra) | 1.2 µm | 1.3 µm | 0.1 µm |
- Material Integrity: The material integrity of the spun parts is assessed through non-destructive testing methods. Table 3 compares the defect detection results from the experimental tests with the predicted defects from the numerical simulations.
| Parameter | Experimental Detection | Simulation Prediction | Difference |
|---|---|---|---|
| Internal Cracks | None detected | None predicted | None |
| Surface Defects | Minor scratches | Minor scratches predicted | None |
- Stress and Strain Distribution: The stress and strain distributions within the spun parts are critical for understanding the material behavior during the spinning process. Figure 1 shows the stress and strain distributions predicted by the numerical simulations, while Figure 2 shows the corresponding experimental measurements obtained through strain gauges and X-ray diffraction.
Figure 1: Stress and Strain Distribution (Simulation)
Figure 2: Stress and Strain Distribution (Experimental)
Optimization of Multi-Pass Ordinary Spinning Process
Based on the comparative analysis of the test and simulation results, several optimization strategies can be employed to improve the multi-pass ordinary spinning process. The following sections detail some of the key optimization techniques:
- Parameter Optimization: The spinning parameters, such as the rotational speed, feed rate, and number of passes, can be optimized to achieve the desired part quality. Sensitivity analyses and design of experiments (DOE) methods can be used to identify the optimal parameter settings.
- Tool Design: The design of the spinning tool and mandrel can be optimized to reduce friction, improve material flow, and minimize defects. Advanced tool materials and coatings can also be used to enhance tool life and performance.
- Material Selection: The selection of the workpiece material can be optimized to improve formability and reduce defects. Alloying elements and heat treatment processes can be used to tailor the material properties for the spinning process.
- Process Control: Advanced process control techniques, such as adaptive control and real-time monitoring, can be used to ensure consistent part quality and minimize variability. Sensors and feedback systems can be integrated into the spinning machine to monitor key process parameters and adjust the spinning conditions in real-time.
Conclusion
The multi-pass ordinary spinning process is a versatile and efficient manufacturing technique for producing high-quality metal components. Through a combination of experimental testing and numerical simulation, the performance and quality of the spun parts can be optimized. The comparative analysis of test and simulation results provides valuable insights into the deformation behavior, material integrity, and dimensional accuracy of the spun parts. By employing optimization strategies, such as parameter optimization, tool design, material selection, and process control, the multi-pass ordinary spinning process can be further enhanced to meet the demanding requirements of modern manufacturing.
This article has provided a comprehensive overview of the multi-pass ordinary spinning process, including detailed test procedures, numerical simulation methods, and comparative analyses. It is hoped that this information will serve as a valuable resource for engineers, researchers, and industry professionals seeking to understand and optimize this critical manufacturing technique.
Maximize Tooling and CNC Metal Spinning Capabilities.

At BE-CU China Metal Spinning company, we make the most of our equipment while monitoring signs of excess wear and stress. In addition, we look into newer, modern equipment and invest in those that can support or increase our manufacturing capabilities. Our team is very mindful of our machines and tools, so we also routinely maintain them to ensure they don’t negatively impact your part’s quality and productivity.
Talk to us today about making a rapid prototype with our CNC metal spinning service. Get a direct quote by chatting with us here or request a free project review.
BE-CU China CNC Metal Spinning service include : CNC Metal Spinning,Metal Spinning Die,Laser Cutting, Tank Heads Spinning,Metal Hemispheres Spinning,Metal Cones Spinning,Metal Dish-Shaped Spinning,Metal Trumpet Spinning,Metal Venturi Spinning,Aluminum Spinning Products,Stainless Steel Spinning Products,Copper Spinning Products,Brass Spinning Products,Steel Spinning Product,Metal Spinnin LED Reflector,Metal Spinning Pressure Vessel,
