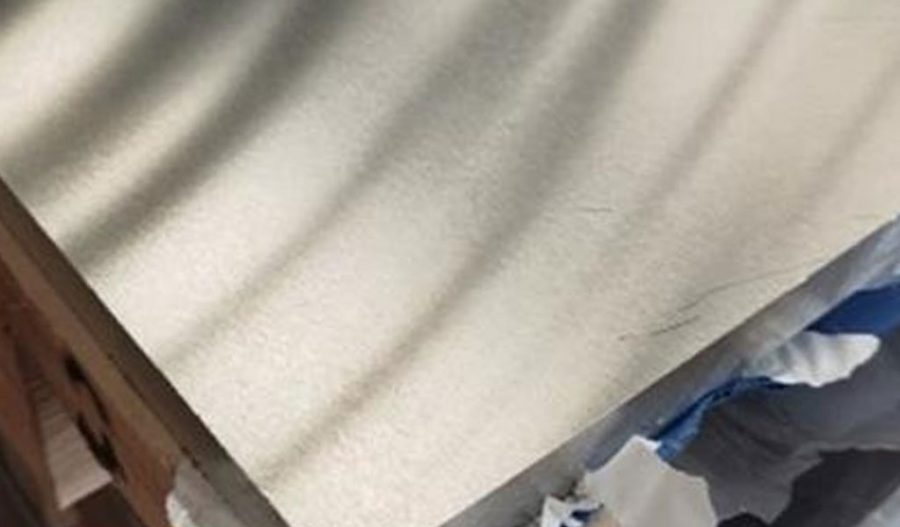
Steel plate flatness tolerance is a critical specification in the manufacturing and processing of steel plates. This tolerance defines the permissible deviation from a perfectly flat surface of a steel plate, which is essential for ensuring the final product’s usability in various applications, ranging from construction to aerospace. Flatness tolerance plays a vital role in the steel plate’s performance, impacting its assembly, functionality, and durability in final applications. Understanding flatness tolerance for steel plates requires a deep dive into the factors influencing flatness, measurement methods, industry standards, and the impact of deviations in flatness.
The Importance of Flatness Tolerance in Steel Plates
Flatness refers to the evenness or smoothness of a steel plate’s surface. When producing steel plates, it is crucial to ensure that the plate meets the necessary flatness specifications to maintain structural integrity and dimensional accuracy. This is especially important in industries like construction, automotive, aerospace, and heavy machinery, where even minor deviations from flatness can lead to performance issues, misalignment, or difficulty in fitting and assembling parts.
Steel plates are typically manufactured by rolling or forging processes, but these processes do not always yield perfectly flat surfaces. Variations in temperature, pressure, and cooling rates can cause the steel to warp, bend, or bow, leading to irregularities in the plate’s flatness. Therefore, flatness tolerance ensures that the plate conforms to specific standards of acceptability, allowing it to be used reliably in applications where precision is key.
Measuring Steel Plate Flatness
Measuring the flatness of steel plates is a sophisticated process that requires careful attention to detail. Various methods can be employed to assess flatness, each with its own advantages and limitations. In general, flatness measurements involve comparing the surface of the plate to a reference plane or measuring the deviations across the plate’s surface.
One of the most common techniques for measuring flatness is the use of a “feeler gauge,” which measures the gap between a steel plate and a flat reference surface. This method is relatively simple but can be time-consuming and is not as precise as other methods. In contrast, laser scanners and 3D laser profilometers offer more advanced measurement techniques, capturing the entire surface profile of a steel plate with high precision.
Another commonly used method is the “straight edge” technique, where a long, straight bar is placed along the plate’s surface, and the gap between the straight edge and the plate is measured at various points. This method can be effective for smaller plates but may not provide the level of precision needed for larger or more complex plates.
Some modern approaches incorporate digital measurement tools that generate detailed flatness maps. These tools can provide a quantitative representation of the plate’s flatness, highlighting any areas that exceed the specified tolerance. These maps can be used to evaluate whether the plate meets the required flatness tolerance and to identify areas that may require correction or further processing.
Industry Standards and Guidelines for Flatness Tolerance
Steel plate flatness tolerance is regulated by various industry standards, which set the acceptable limits for flatness in different types of steel plates. These standards ensure that the steel plates meet the needs of specific industries and applications.
One of the most recognized standards for flatness tolerance is ASTM A6/A6M, which is maintained by ASTM International, a globally recognized standards organization. This standard outlines the flatness tolerance for a range of steel products, including plates, shapes, and bars. According to ASTM A6/A6M, the flatness tolerance for steel plates is typically expressed as the allowable deviation from a reference line or surface.
For example, the standard might specify that the maximum allowable deviation for a steel plate with a length of 12 feet and a width of 6 feet should not exceed 0.25 inches. However, the tolerance may vary depending on the thickness and size of the plate, as well as the specific steel grade being used. Similarly, different industries may impose stricter flatness tolerances depending on the intended application of the steel plate.
In addition to ASTM A6/A6M, there are several other standards and guidelines for flatness tolerance that apply to specific types of steel plates. For instance, the American Institute of Steel Construction (AISC) has guidelines for the flatness tolerance of plates used in the construction of steel structures. The AISC guidelines generally require tighter tolerances for plates used in critical structural applications, such as those that will be subjected to heavy loads or extreme environmental conditions.
Similarly, the International Organization for Standardization (ISO) has developed a series of international standards for steel plate flatness tolerance. These ISO standards are used in countries outside the United States and are recognized globally in industries such as shipbuilding, automotive, and heavy equipment manufacturing.
Flatness Tolerance and Steel Plate Quality
The quality of steel plate is closely linked to its flatness tolerance. Steel plates with more precise flatness tolerances are often considered to be of higher quality because they are more likely to meet the rigorous demands of various industrial applications. Achieving a high level of flatness requires advanced manufacturing processes, such as precision rolling or heat treatment, and strict quality control measures.
Plates with excessive deviations in flatness may suffer from issues such as distortion during welding, poor fitting with other components, or difficulties during the assembly process. These issues can lead to costly rework or scrap material, undermining the overall efficiency of manufacturing operations. In some cases, the use of steel plates with poor flatness tolerance can even lead to failures in the final product, compromising safety or performance.
To avoid these issues, manufacturers often employ advanced techniques to improve the flatness of steel plates. These techniques include controlled cooling, stress relieving, and post-processing operations such as planing or grinding. These processes are designed to reduce internal stresses and promote uniformity in the steel plate’s surface, improving its flatness and overall quality.
Factors Affecting Steel Plate Flatness
Several factors can influence the flatness of steel plates during the manufacturing process. These factors include:
- Temperature Control: The temperature of the steel during production plays a significant role in determining its final flatness. Variations in temperature during rolling or cooling can cause uneven contraction and expansion, leading to warping or bending of the plate.
- Rolling Pressure: The pressure applied during the rolling process can also affect flatness. Uneven pressure distribution can cause localized deviations in thickness and shape, resulting in a plate that is not perfectly flat.
- Steel Composition: The chemical composition of the steel affects its ability to maintain flatness. Steel with high carbon content or certain alloying elements may be more prone to warping or distortion during cooling.
- Thickness of the Plate: Thicker plates are generally more difficult to keep flat than thinner plates, due to the increased likelihood of internal stresses and the difficulty in achieving uniform cooling.
- Cooling Rate: The cooling rate of the steel after rolling or forging can impact flatness. Rapid cooling can cause uneven shrinkage, leading to warping.
- Post-Processing: After the plate is initially formed, post-processing techniques such as heat treatment, grinding, and flattening can help correct any deviations in flatness. However, the effectiveness of these processes depends on the severity of the deviation and the type of steel being used.
Types of Steel Plate Flatness Tolerance
There are several different categories of flatness tolerance, each designed for specific applications. These categories include:
- Commercial Flatness Tolerance: This is the most common type of flatness tolerance and is typically used for general-purpose steel plates that do not require high precision. The allowable deviation for commercial flatness tolerance is usually larger than for plates used in more critical applications.
- Precision Flatness Tolerance: Plates with precision flatness tolerance are used in applications where exact dimensional accuracy is critical, such as in the aerospace and automotive industries. These plates must meet stringent flatness specifications, often with deviations measured in thousandths of an inch.
- High-Strength Steel Flatness Tolerance: High-strength steel plates, which are used in demanding applications such as heavy equipment manufacturing, often require even tighter flatness tolerances due to the increased importance of uniformity and strength in the final product.
- Heavy Gauge Flatness Tolerance: For very thick plates (heavy gauge), flatness tolerance requirements may vary based on the thickness and intended application. These plates may require more extensive post-processing to meet the desired flatness specifications.
Impact of Flatness Deviation
Even minor deviations from flatness tolerance can have significant consequences for the performance and cost of steel plates. The most common issues caused by flatness deviations include:
- Welding Issues: Steel plates that are not flat may cause problems during welding, as the plates may not fit together properly, leading to stress concentrations or misalignment.
- Assembly Difficulties: In applications where steel plates must be joined with other components, flatness deviations can lead to difficulties in assembly. For example, misalignment in the steel plates can result in gaps or uneven surfaces that may compromise the integrity of the final product.
- Increased Scrap and Rework: Deviations from flatness can result in increased scrap rates and the need for rework, both of which contribute to higher production costs.
- Performance Problems: In some cases, flatness deviations can cause performance issues in the final product. For instance, in structural applications, plates with poor flatness can lead to uneven stress distribution, weakening the overall structure.
Conclusion
Steel plate flatness tolerance is a crucial specification that ensures the usability, performance, and quality of steel plates in various applications. By understanding the importance of flatness tolerance, the methods used to measure it, and the factors that influence it, manufacturers and engineers can ensure that steel plates meet the necessary standards for their intended use.
Maximize Tooling and CNC Metal Spinning Capabilities.

At BE-CU China Metal Spinning company, we make the most of our equipment while monitoring signs of excess wear and stress. In addition, we look into newer, modern equipment and invest in those that can support or increase our manufacturing capabilities. Our team is very mindful of our machines and tools, so we also routinely maintain them to ensure they don’t negatively impact your part’s quality and productivity.
Talk to us today about making a rapid prototype with our CNC metal spinning service. Get a direct quote by chatting with us here or request a free project review.
BE-CU China CNC Metal Spinning service include : CNC Metal Spinning,Metal Spinning Die,Laser Cutting, Tank Heads Spinning,Metal Hemispheres Spinning,Metal Cones Spinning,Metal Dish-Shaped Spinning,Metal Trumpet Spinning,Metal Venturi Spinning,Aluminum Spinning Products,Stainless Steel Spinning Products,Copper Spinning Products,Brass Spinning Products,Steel Spinning Product,Metal Spinnin LED Reflector,Metal Spinning Pressure Vessel,
